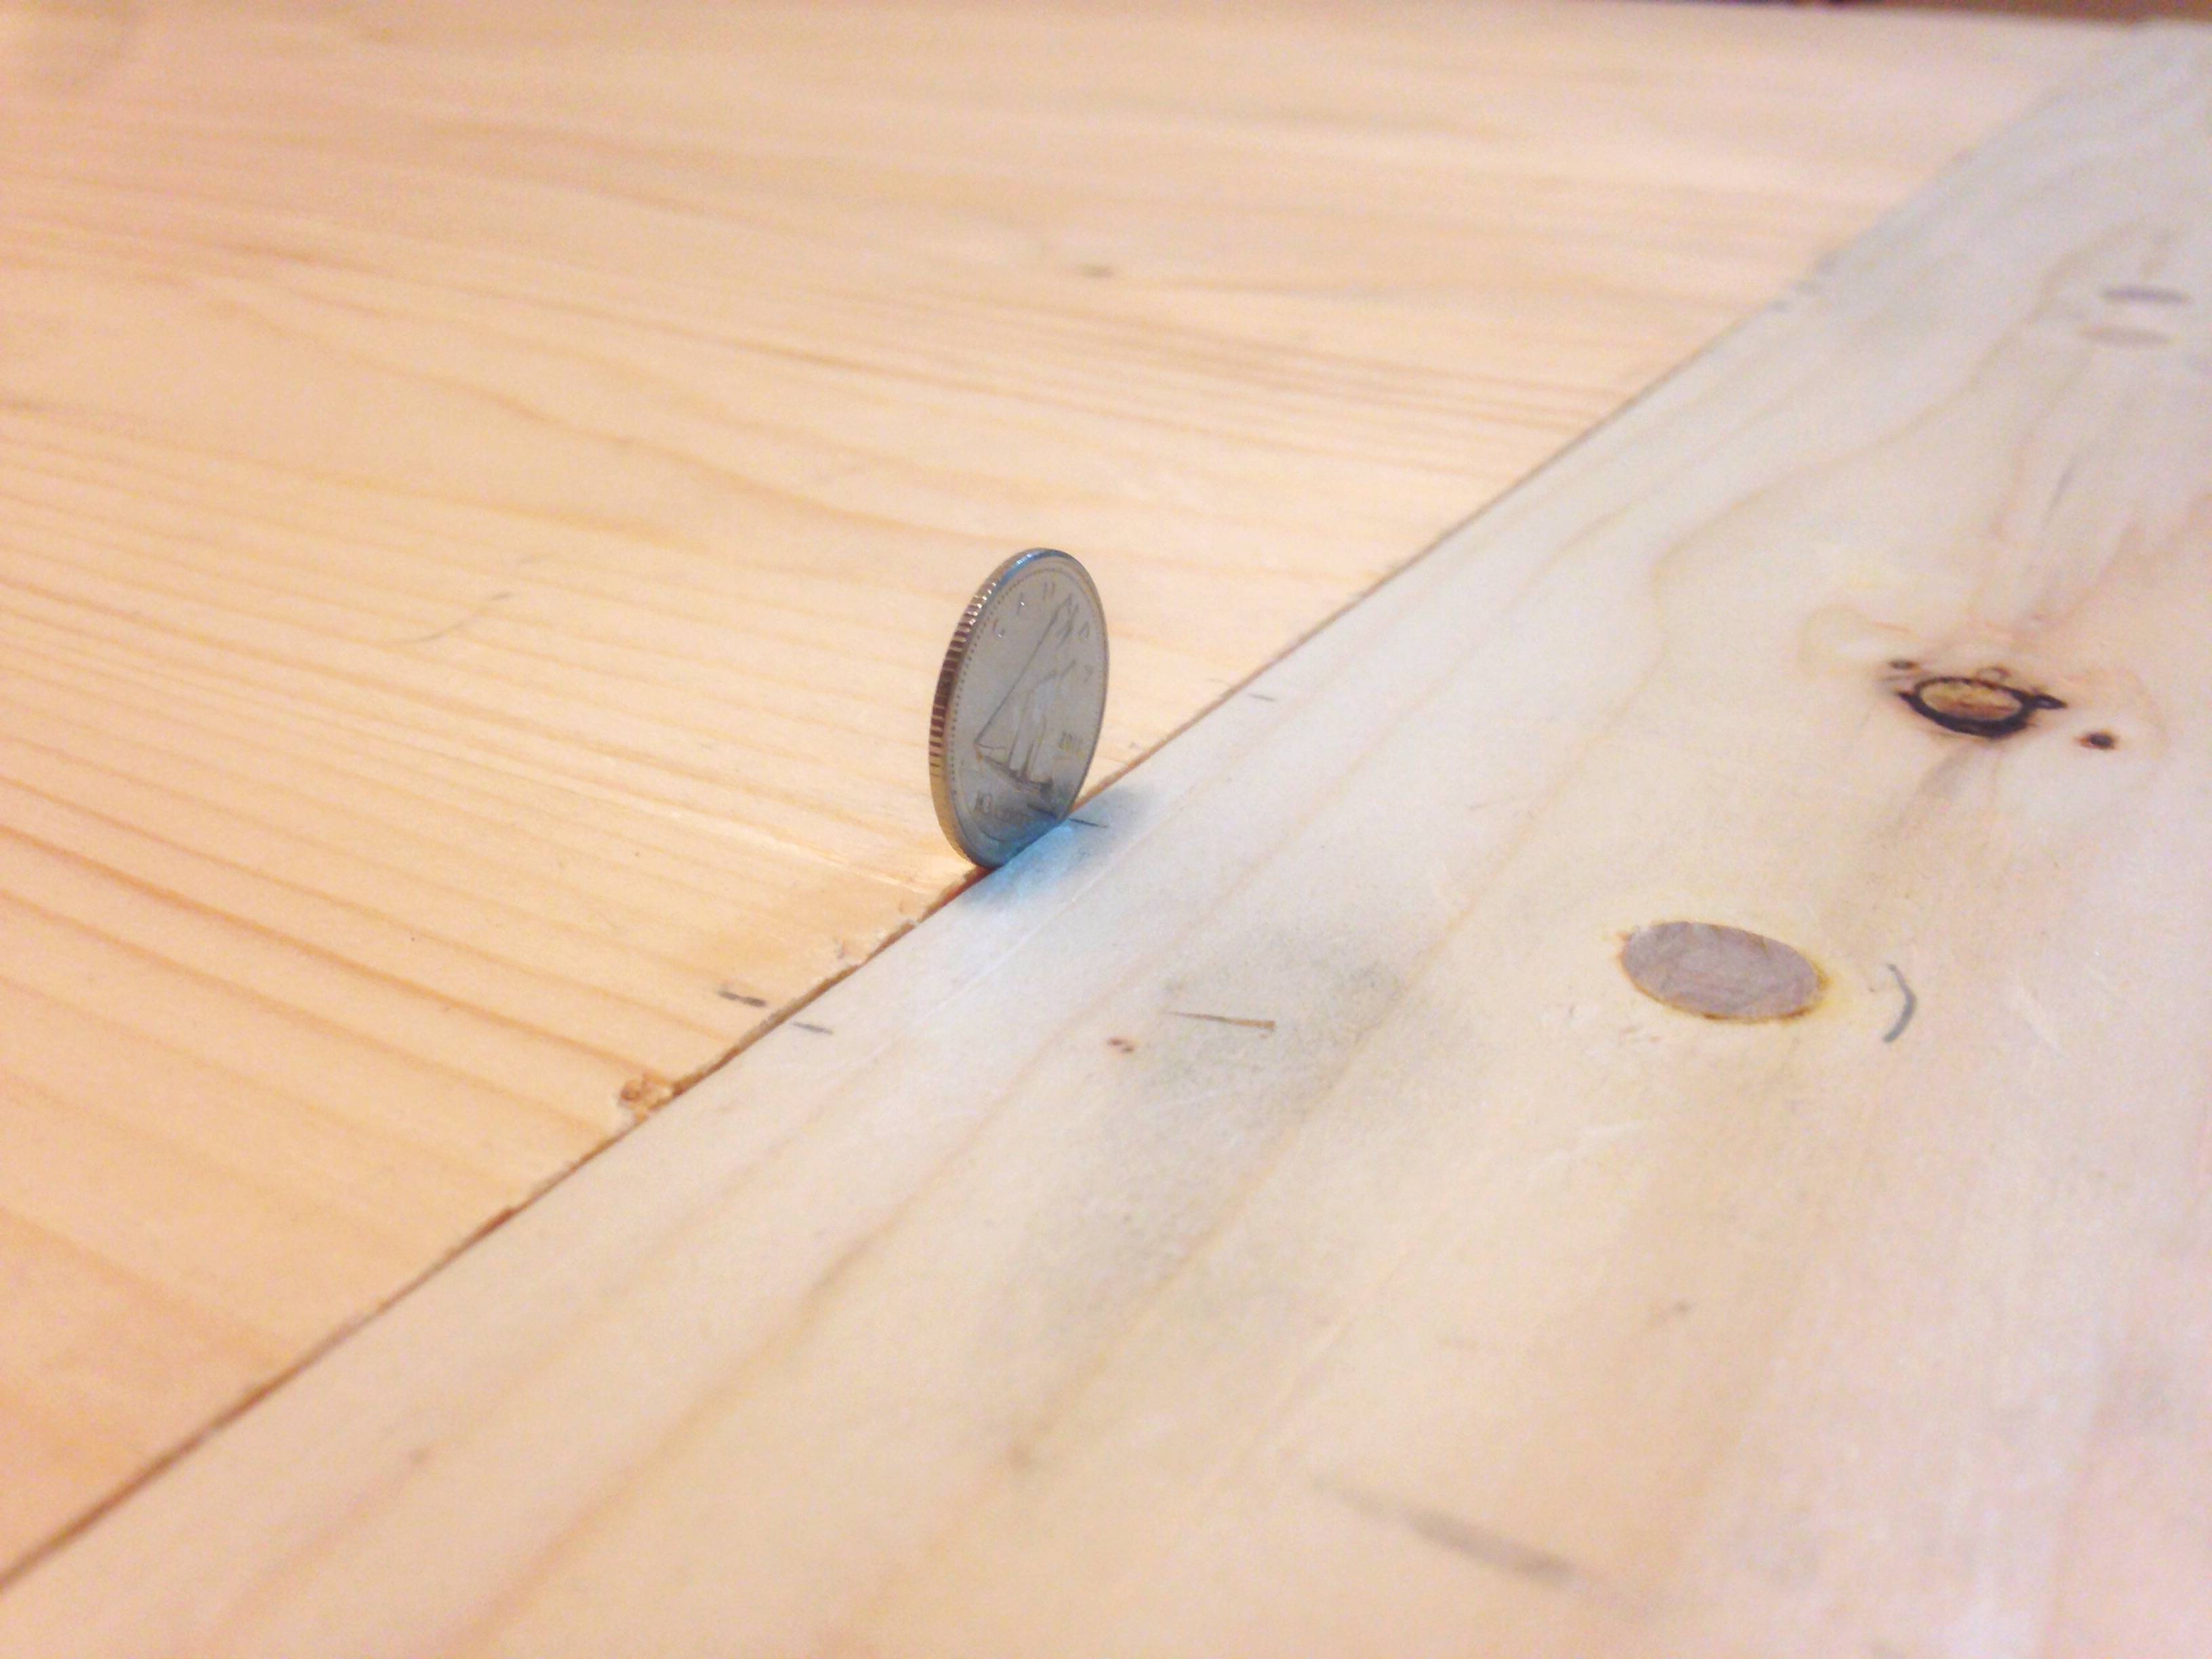
I am building a pine desk/table (with handtools, so far) with a breadboard end design. One end piece does not sit flush with the tabletop everywhere along the entire width of the panel (32" or so). Out of impatience, I gave up on tweaking the shoulders to get the perfect fit along both (cosmetic) shoulders of the tabletop (top/under).
Now that it's closed up, the gap is noticeable. I also feel that debris will get lodged there. But maybe not.
I'd like to cover that gap. Is making a clean groove with a plough plane and placing an inlay between the top and breadboard end a technically feasible option at this point? What about inserting wedges, or running some sort of bead?
I see using filler is recommended in other similar questions, but it is reported to crack within a year or two, as the panel narrows/widens.
The plan is to finish it with oil, and I wonder how much of the gap will be covered by the finish.
###How to avoid in the future?###
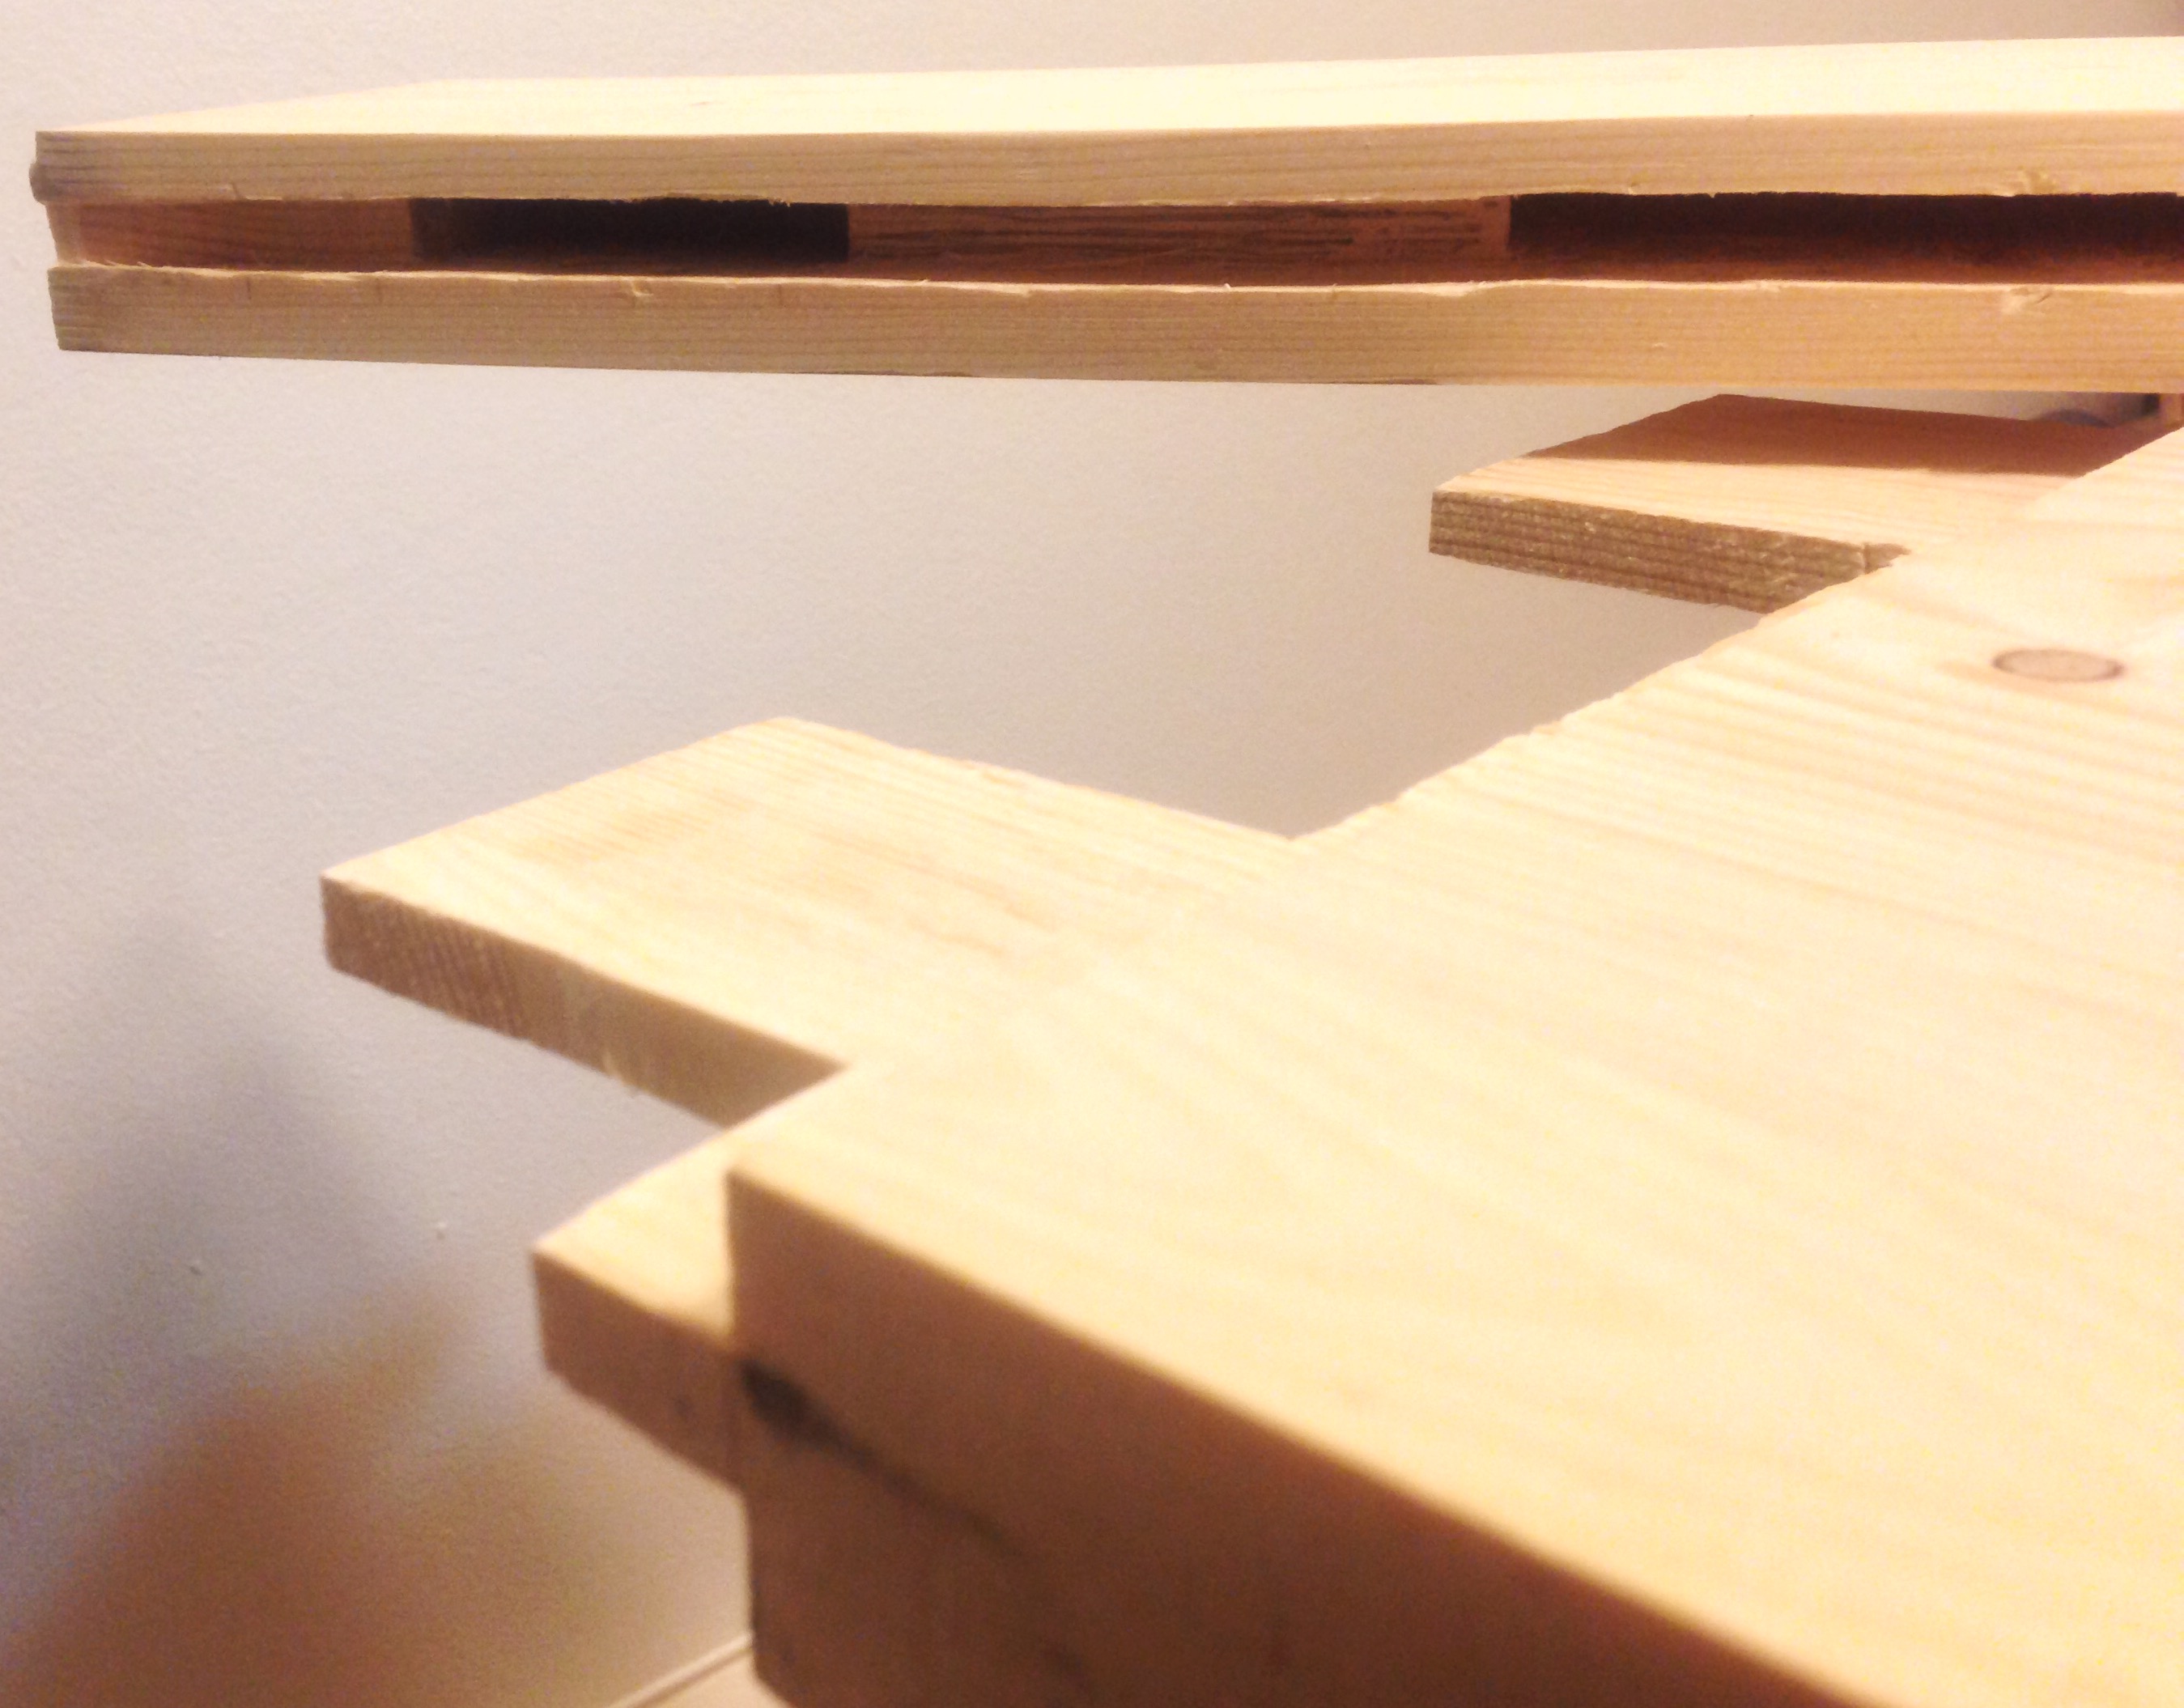
I have a chance to fix the problem on the other side of the table, as I haven't closed up the other end yet -- I'm including an image of the construction (same as the one that's closed).
To close them, I have a 2"-wide strip of glue only on the center tenon, and 3/8" dowels. The dowels going through the non-center tenons can slide in elongated holes.
The only tools I have at my disposal for this, are a skillsaw (and jig) and handtools/planes (handsaws, paring chisels, bench #4, #5, block, and rabbet). I've tried using my rabbet plane as a shoulder plane along the width of the table to make the wall truly square, but running perpendicular to the grain creates tearout along the cosmetic shoulder of the table -- so I feel i'm trading one problem for another.
Edit
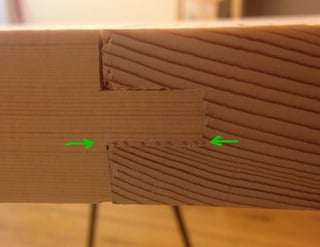
I gave up on fixing the long edge gap, and will leave it as is (for now). However, after cutting the horns of my breadboard ends on either side of the table, my subpar chiselling of the mortise became extremely obvious -- and I decided it was worth it to try the "thick shaving method" there.
I handsawed off the horns a few mm over on each side -- to allow for some error. Some decide to leave longer breadboard ends to create a design element/feature out of them, or decide to enclose them completely, but I wanted them flush and I wanted to be able to see the haunch. Anticipating some end grain planing, I pared the corners of the horns off with a chisel to prevent breakout.
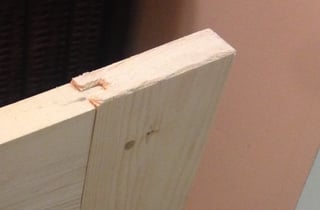
As I got closer to being flush, I switched to sanding. And I started to notice how bad the gaps were, with the dust accumulating in the gaps, (in the image, the white sand dust outlines the gap around the haunch):
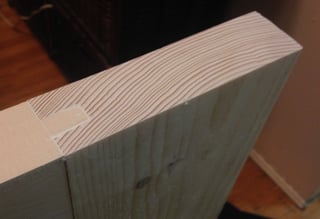
I couldn't produce shavings/sliver thick enough with the plane, so I produced them by paring with a chisel on a spare piece of wood, and adjusted the thickness of the created thin wedge with sandpaper. I applied glue only the breadboard-end side, wedged the shim into the gap, trimmed it and sanded it flush.
I believe I could have glued just the haunch side instead, but the fibers would have needed to be oriented the other way, and it's easier to wedge in parallel with the breadboard end grain.
In retrospect I should have switched from the plane to the sanding block sooner, because the last few runs with the plane pulled some fibres out around the edge, as can be seen in the upper lip of the mortise, in the form of little "craters".
