I own a Hitachi C10FCE2 10-inch miter saw, it is my first miter saw. I'm a woodworking beginner but learning fast. I recently installed a "Makita A-93681 10-Inch 80 Tooth Micro Polished Mitersaw Blade" to replace the pretty crappy blade it came with.
I just noticed today while cutting some 3/4" cherry for a box that the miter saw isn't cutting a flat edge, even though the edge seems to be square. I've calibrated all of my tools to an obsessive degree. I have several accurate engineer's squares, double squares and combo squares that all agree with each other, and they (plus a digital angle gauge) all agree that the miter saw blade is perfectly perpendicular to the back fence and the floor. I didn't really expect a discrepancy, so I hadn't been meticulously checking the resulting wood. Thus, I don't actually know whether this problem has always been here, or if it appeared some time down the line. I only bought it a few months ago, and the blade just a few weeks ago.
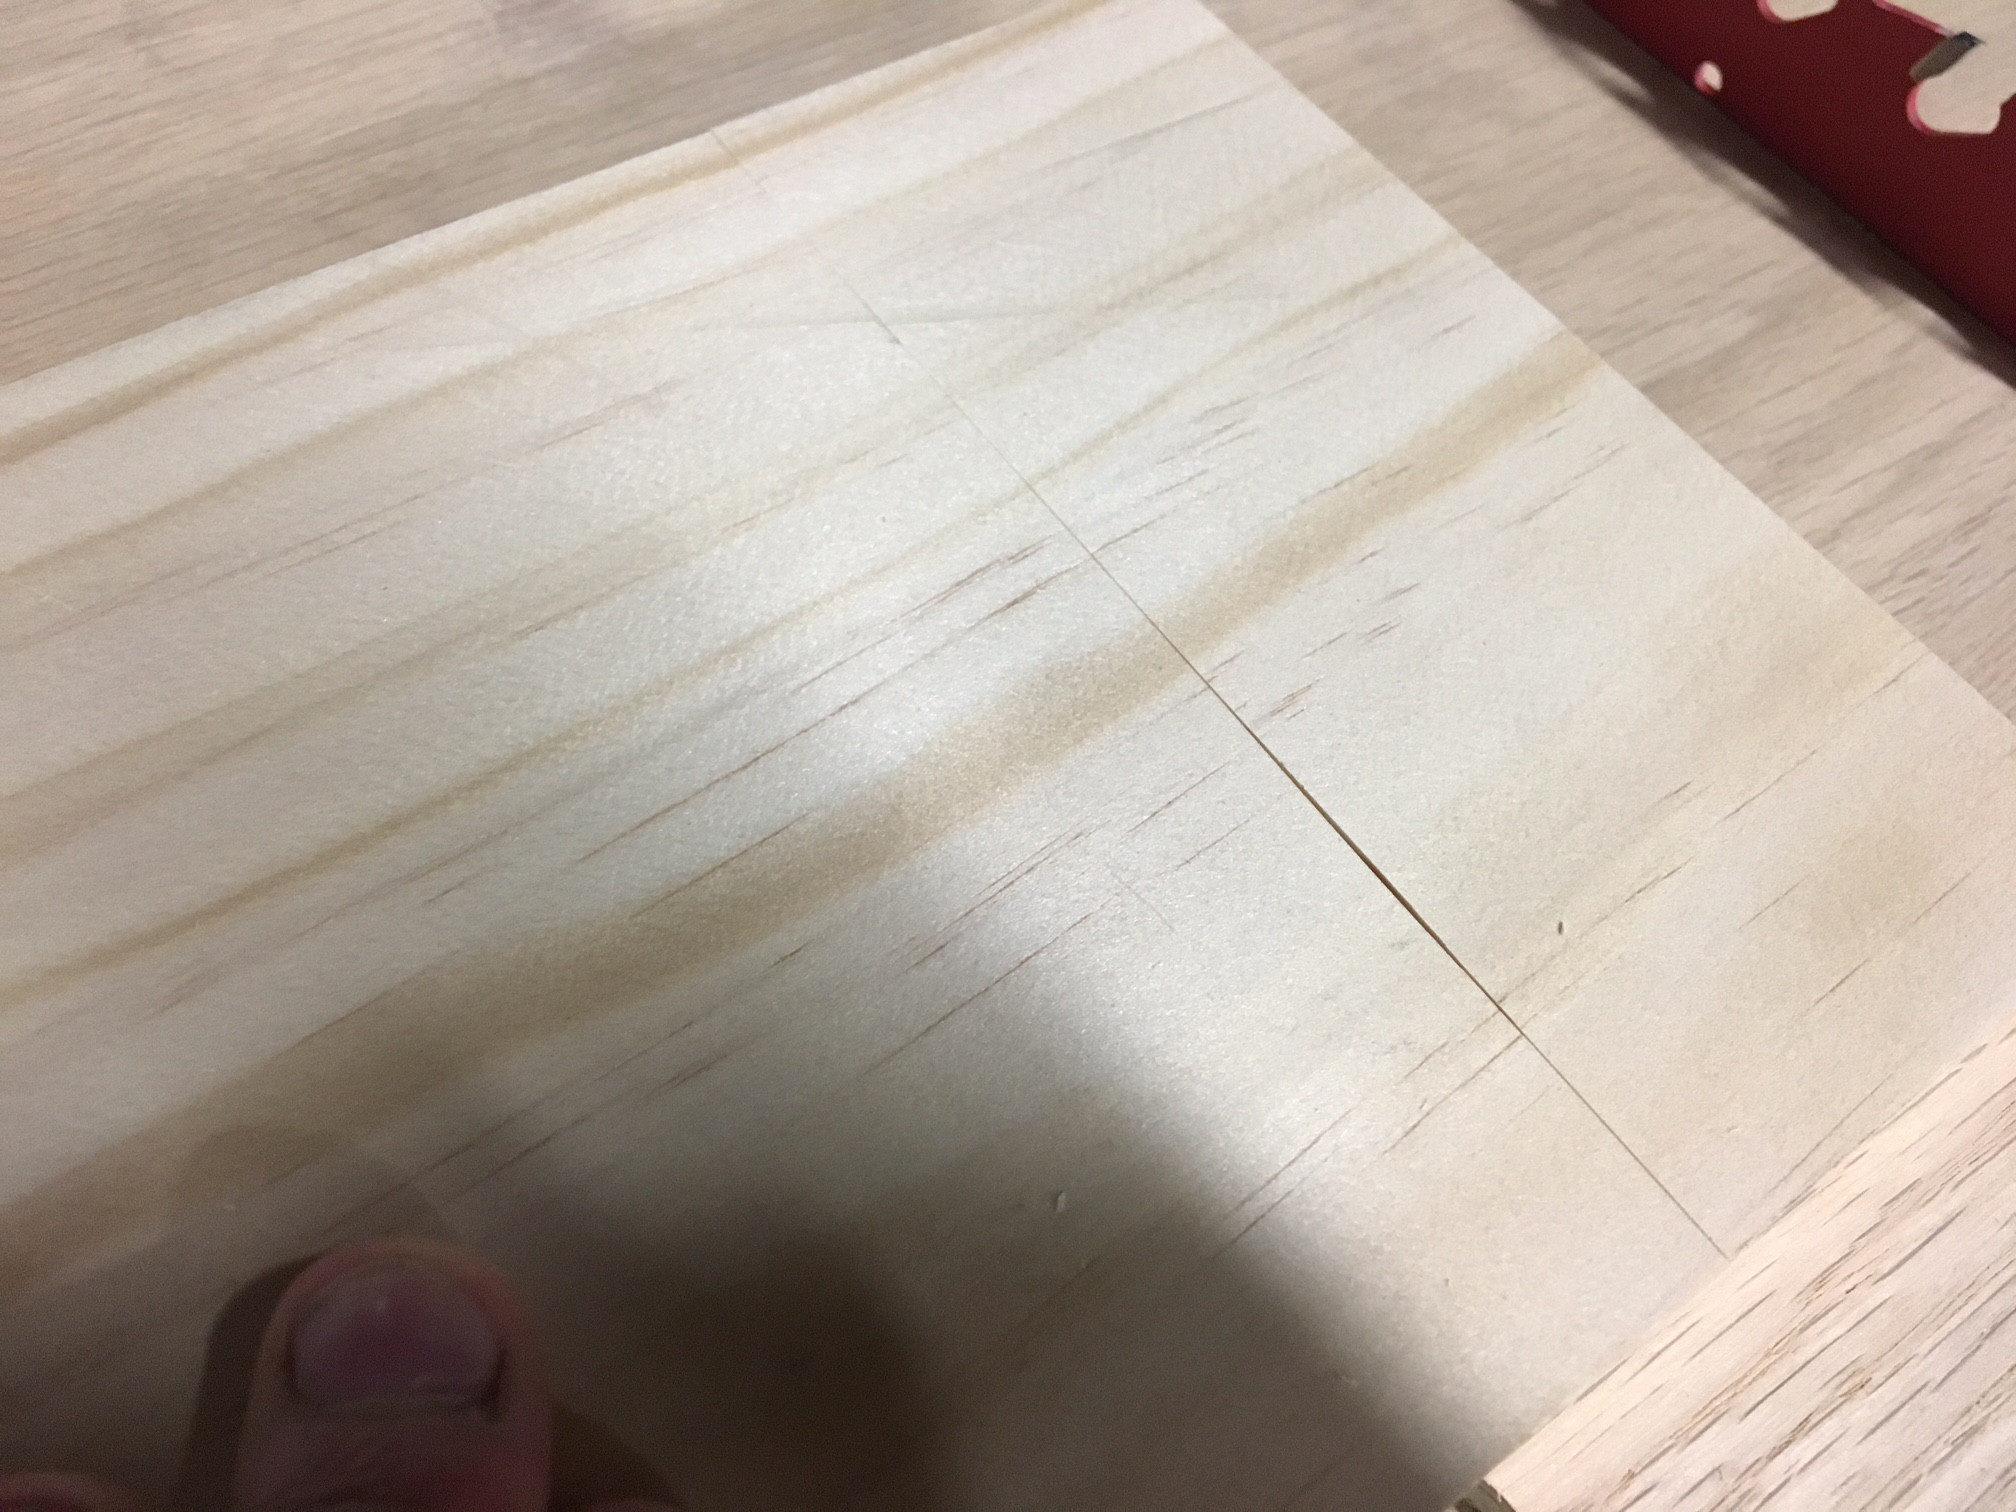
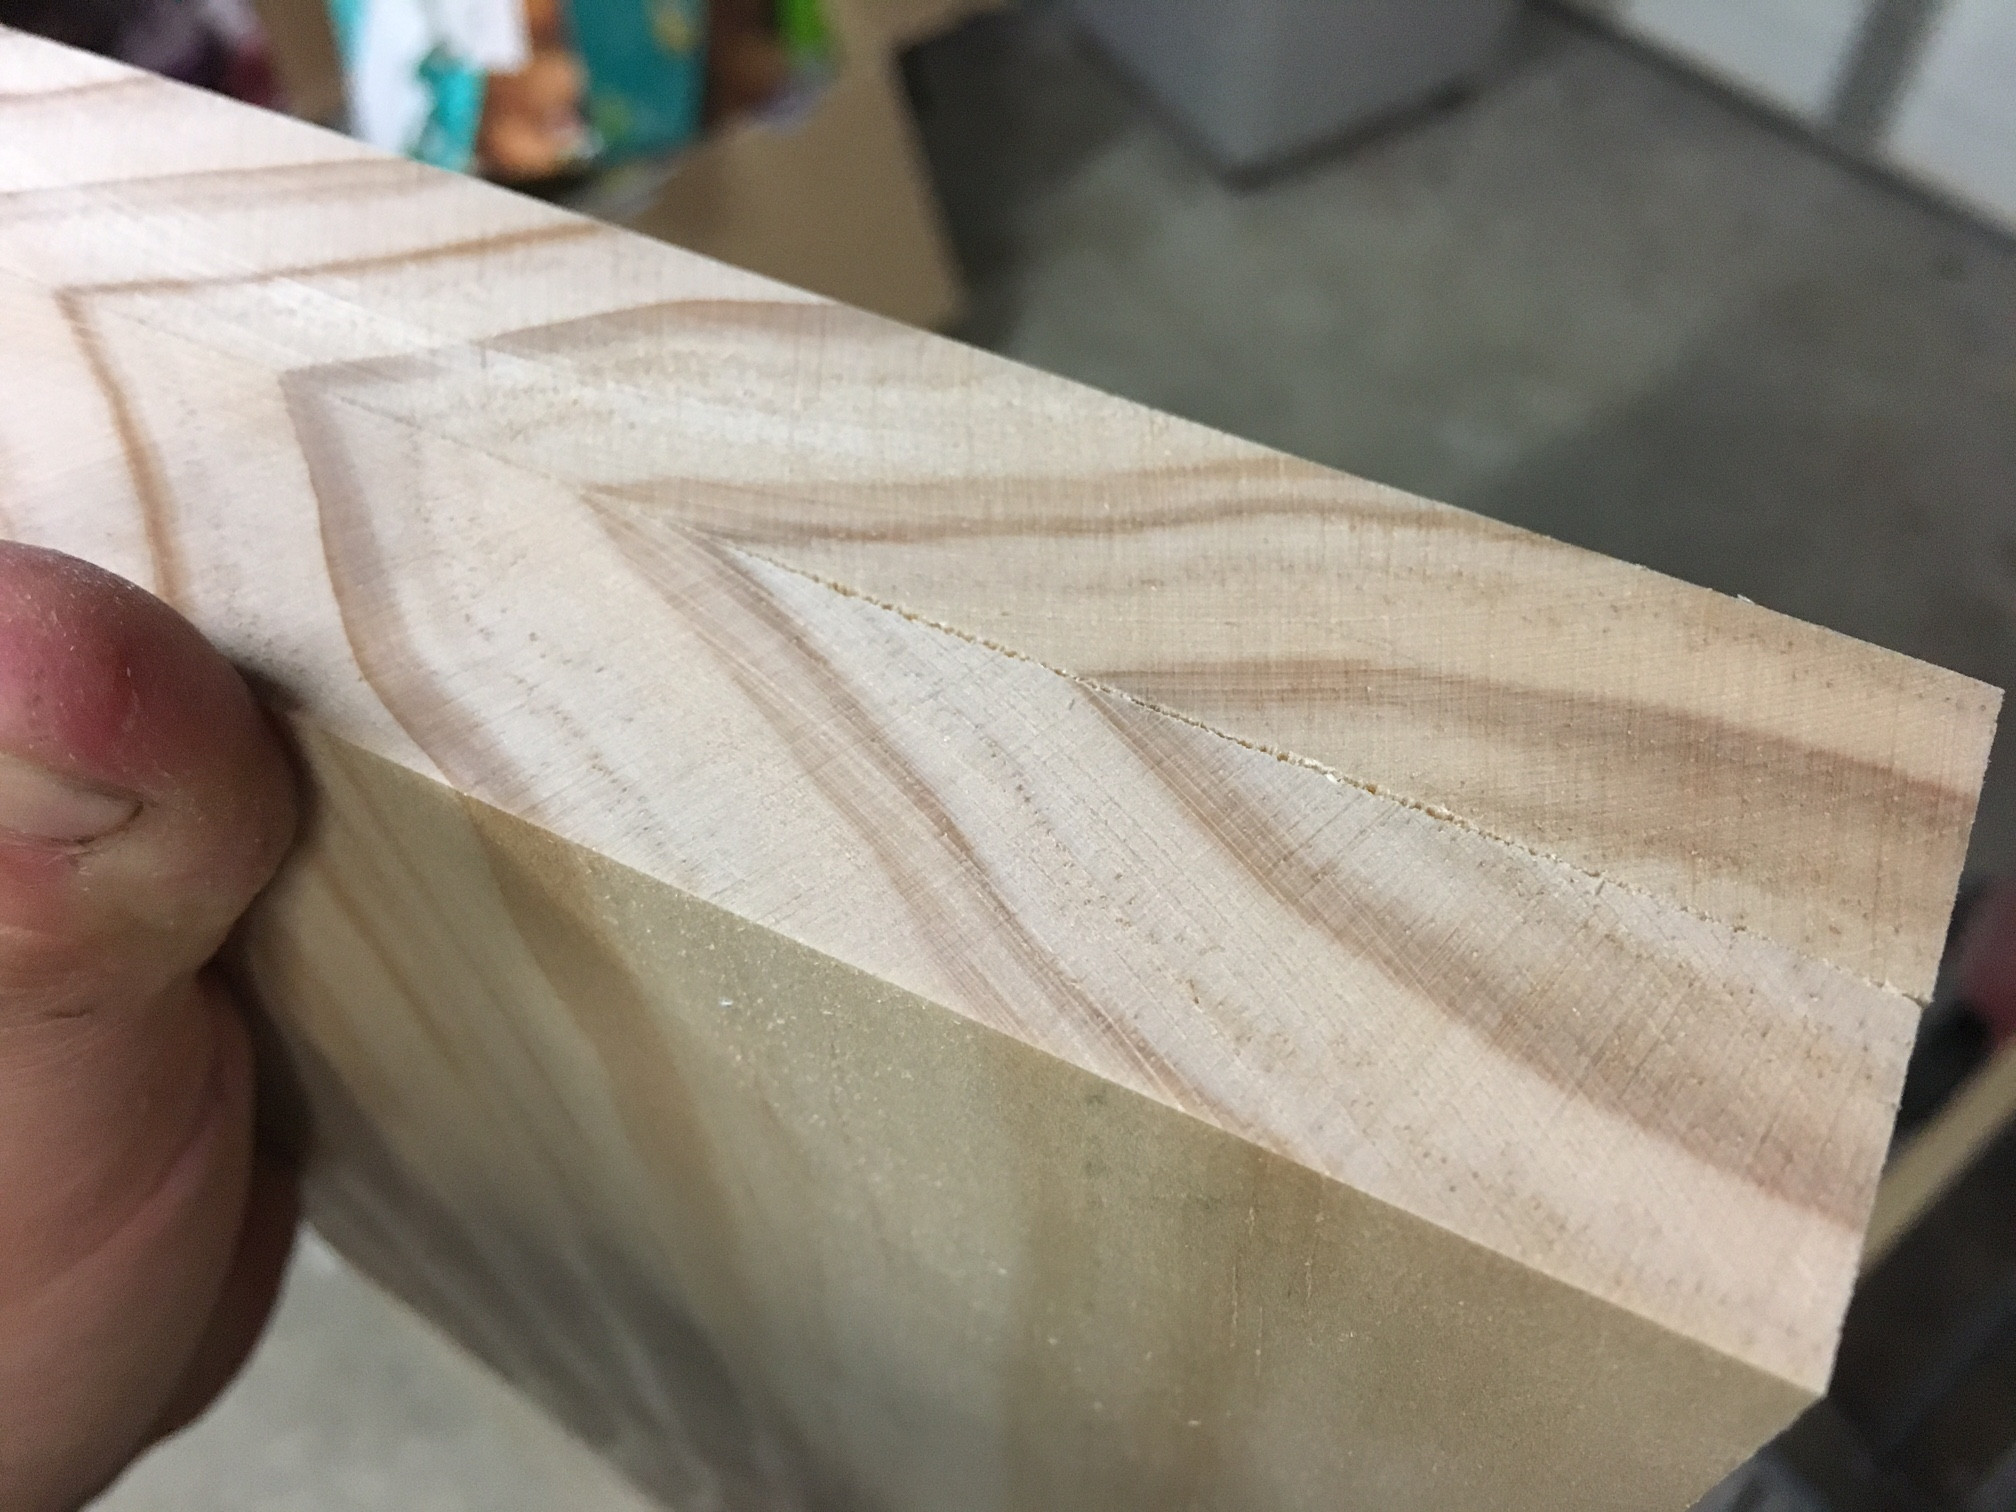
The "problem" I speak of is not that the cuts are off square in the traditional sense. A try square doesn't show significant deviation from square. However, when I place the two halves of a fresh-cut bit of wood together, they don't line up smoothly along the entire surface. There's sort of a gap there that is most prominent on one side. There's also some blade marks that are deeper than they should be, so much so that I can feel some parts of the end grain are a few thous higher than others.
I switched to my crosscut sled after noticing the problem and my ends are nice and square and flat again. Does anyone know what this is, if it can be fixed or if I need to dump the saw and/or the blade? Is it my technique, machine setup/calibration, a hardware fault or something else like I messed up installing the blade? If the blade is the culprit, I might still be in the return window for Amazon. If I had a shooting board I'd probably just clean up my ends, but until then I depend on a clean cut right off the saw.
FYI, all parts of the saw are tight with no play/wiggle where there shouldn't be. My technique is to push the wood against the back fence and down on the widest part of the saw bed, clamp the wood down, spin the saw up to speed, slowly drop the saw through the wood while applying light pressure down and back to keep it square, stop when it reaches bottom, wait for it to stop, then lift it.
I took some pictures of the gap and also the end grain, though the saw marks probably don't even show up in the pics.


Man I've spent way too many words describing this.