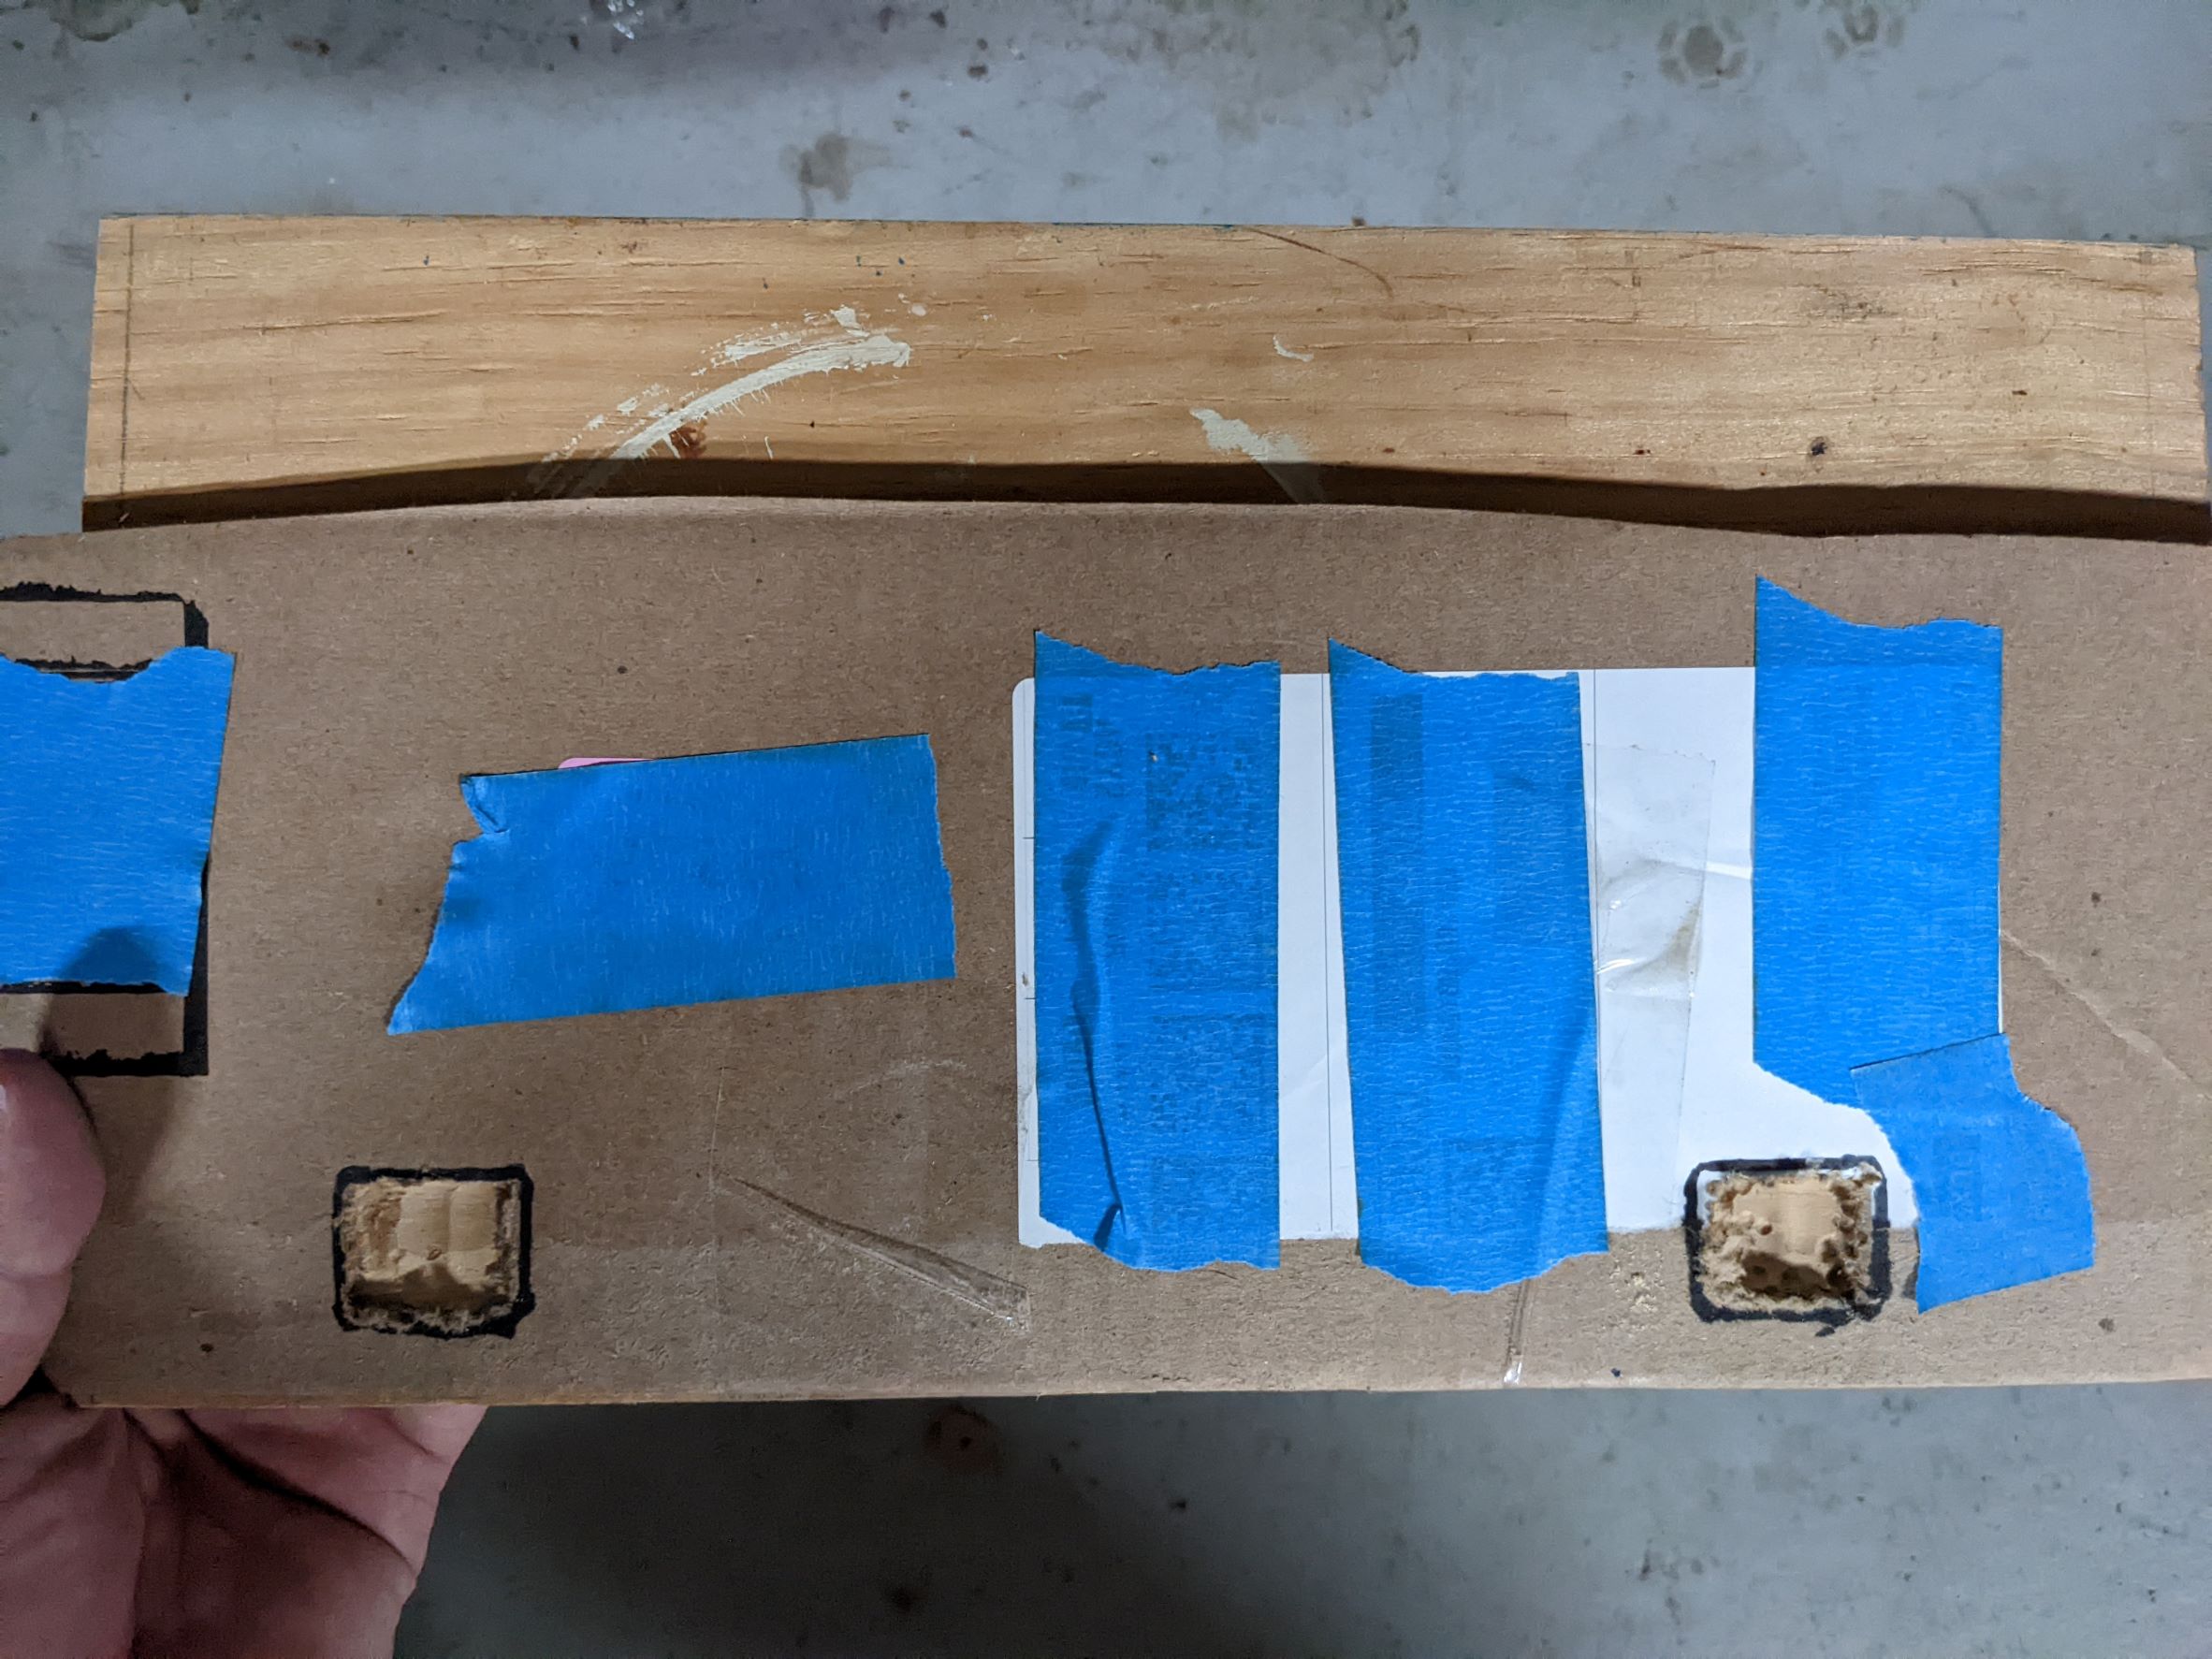
Square holes in wood are mortises. We call them that even if it's not part of a mortise-and-tenon joint, hence "chiselling out the mortise for a lock" and other references you'll come across.
Is there an easier way to do this?
Heck yeah.
Hand tools
Chisel and mallet/hammer if you want to do it completely old school. It's no joke to say you'd have been ~1/3 of the way there before you'd finished typing your Question if you'd chosen this route.
Since many beginners and learners find chiselling directly into wood a bit intimidating1 you can instead drill out the bulk of the waste (with an actual drill bit, not a ball burr!) and then chisel out the periphery — basically just paring back to your layout lines. This is the way many modern woodworkers would do it, including many pros who are largely self-taught (esp. from Internet sources)2.
Router
You can create perfect, and repeatable, square mortises (with rounded corners) using a power router IF you have a suitable bit and after you've made a template. Since the making of the template would take some time, and you only have two of these to do it doesn't seem like an efficient use of time but it's certainly possible.
While you can plunge, even with bits that aren't built specifically for it, it's no harm to drill an access hole to begin with.
After the routing only the rounded corners would need to be tidied up with a chisel since the flat sides will be perfect.
Using the Dremel
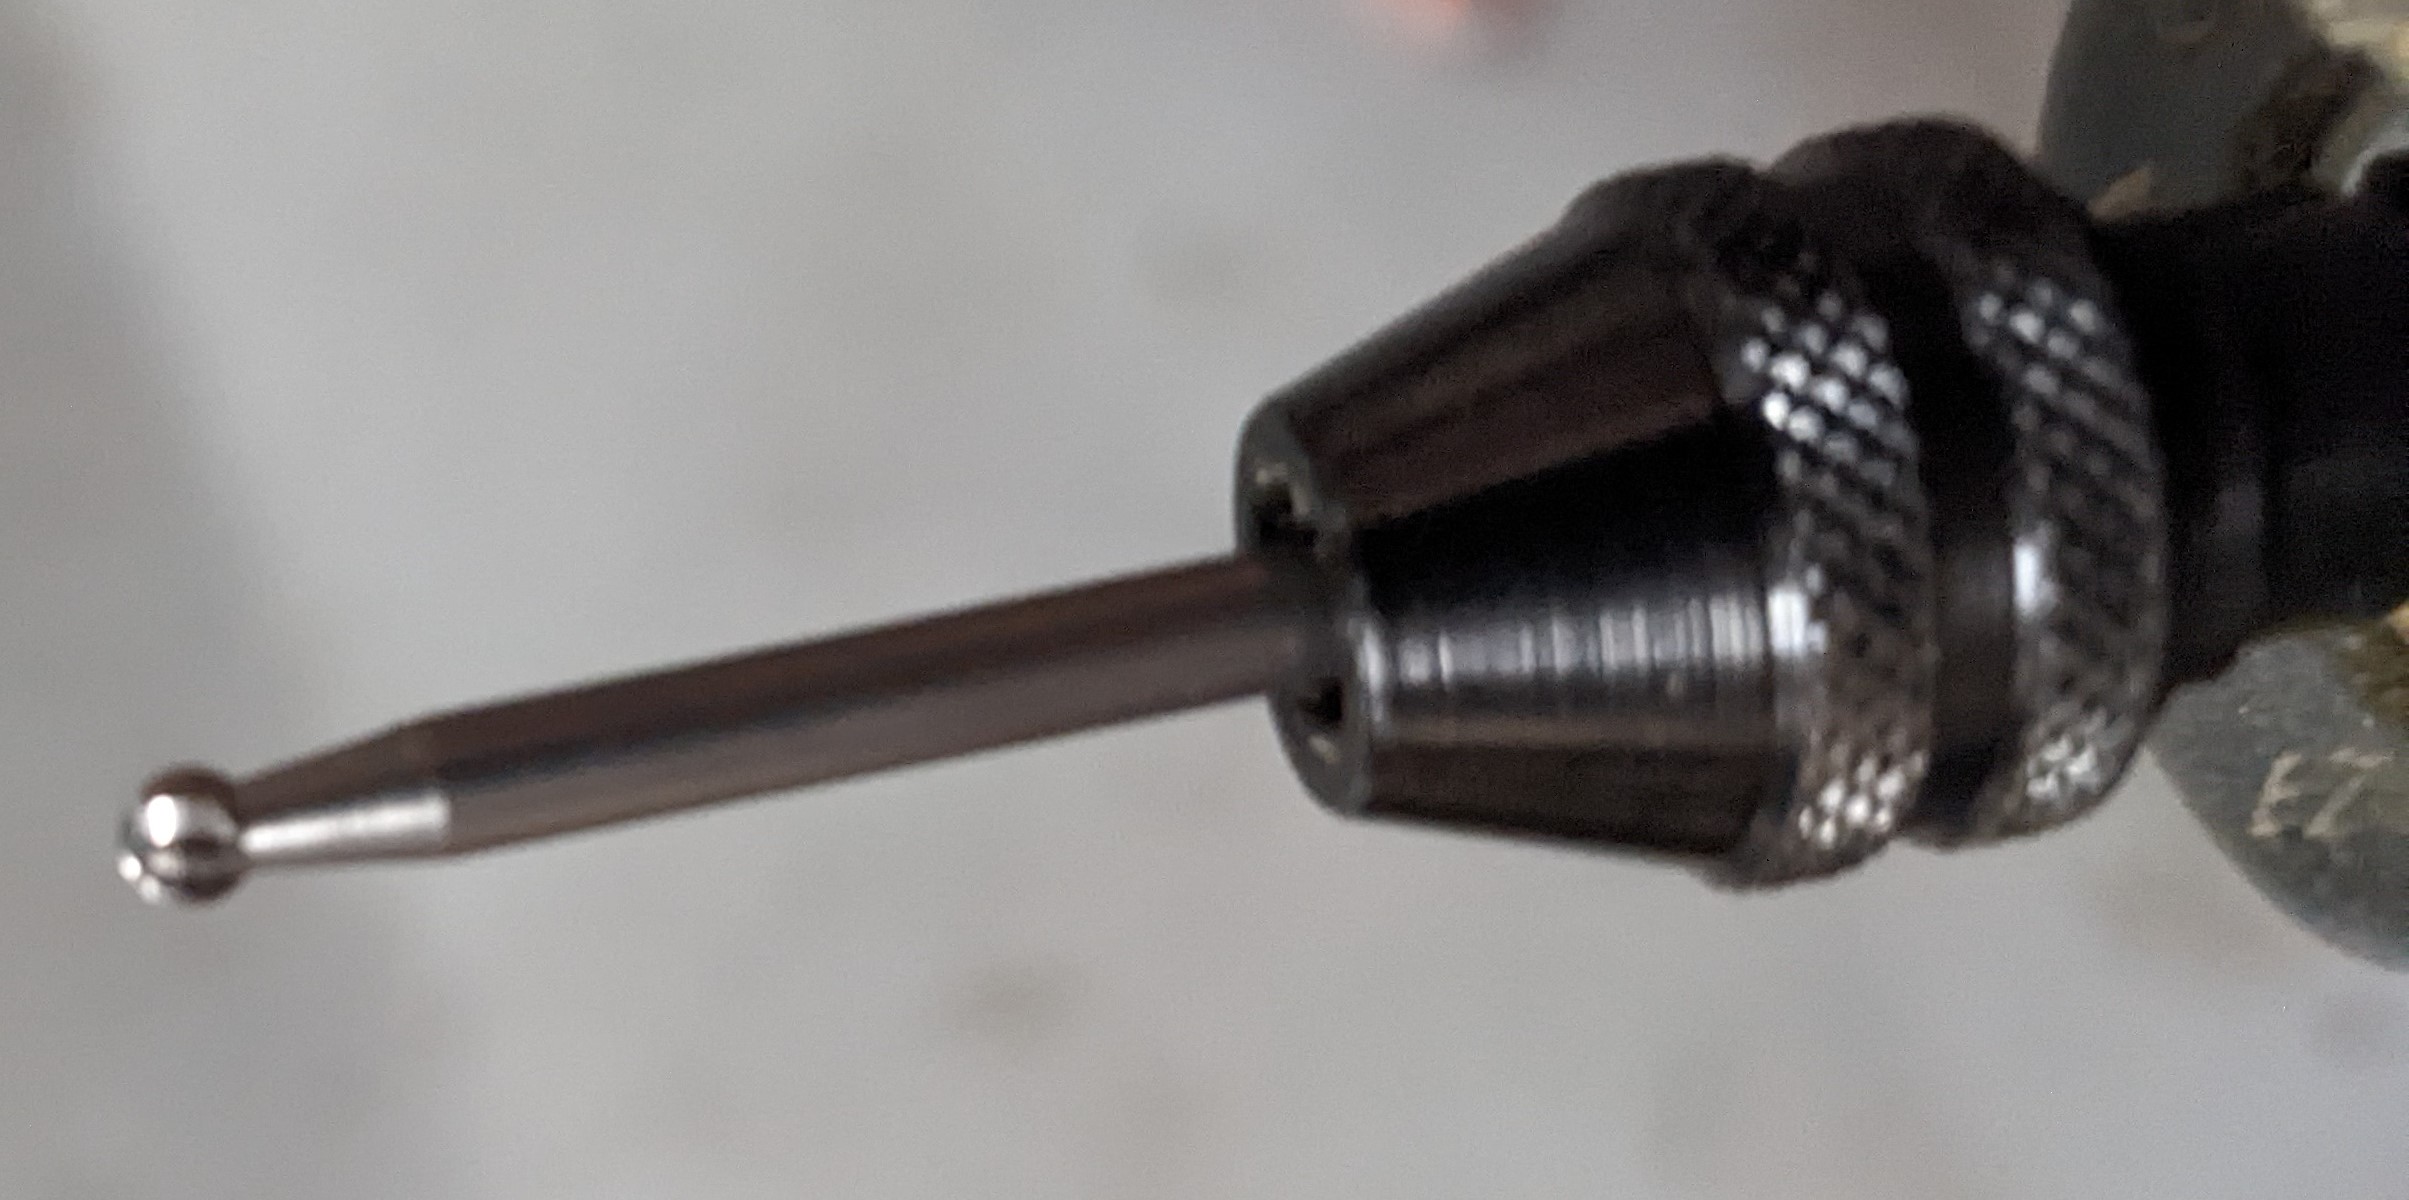
You can actually do this fairly well with a Dremel-type drill if it has decent power, but there are far better bits for the purpose than the one pictured. Fairly large (by Dremel standards) and coarse HSS or solid carbide burrs with large flutes are the kind of thing you want to use here.
But again you want to drill at least one hole to start with, so you can mill sideways — burr bits don't cut well on the push because the speed of the cutting edges reduces as you get closer to the axis. All burrs cut best on their periphery, where speed is highest, so they're best used side to side instead of in and out (particularly for deep holes in tougher material).
Of course you'll still finish with a chisel as you indicate in the Question you were already planning on doing.
1 But shouldn't. A good look at various solid descriptions and/or demonstrations of the method will show how effective it is and with only a little practice it should be easy to get over the phobia. And that's one more skill under your belt :-)
2 Formally trained pros would probably only use this method for very deep and large mortises, especially in oak or any species harder than that.

