1

I'm a bit new here, and I'm not sure if this is the right forum for this question, but it seems like woodworkers are probably the best people to answer a question like this, so here goes:

I'm using a laser cutter (yes, bear with me) to cut out a pattern out of 1" oak board. Looks like this:tree This is essentially doing what I would do with a band saw if I could make these cuts with enough accuracy.
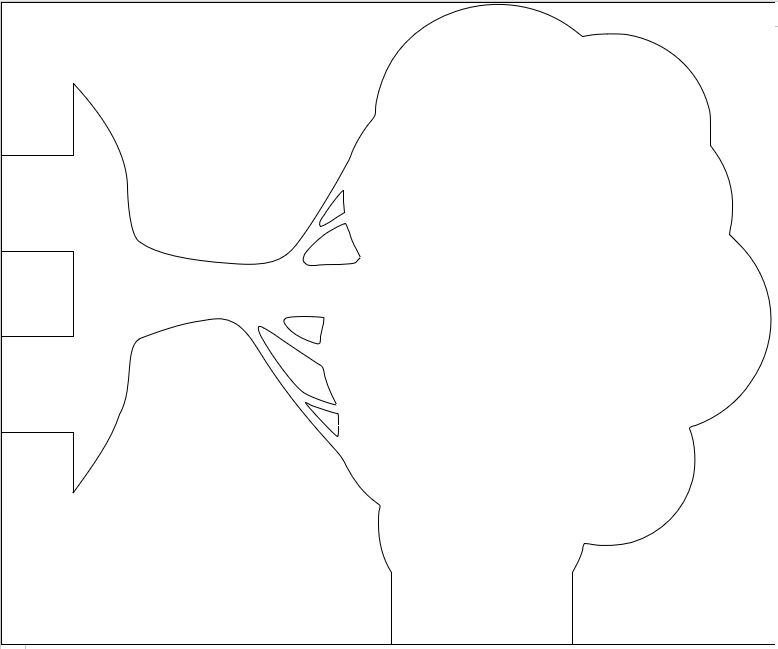
The issue is, unfortunately, regardless of the settings on the laser (and believe me, I've experimented), I've been unable to cut all the way through from one side, even with multiple passes. Me being stubborn about wanting to do it this way, I've decided that I want to flip it over and etch from both sides to get the cut. In other words, reverse this pattern and cut that from the other side. My brute-force solution was to surround the pattern with a rectangle so that I could use the four corners to line up the cuts from both images, but with no guarantees that the cut will go all the way through, this feels useless. My blocker is that besides eyeballing it, I don't know how to mark up my piece or build a jig to accomplish this. Anybody have expertise to share?

Thanks in advance!

1 Answer 1

1

Depending on your bed, you can create a jig that bolts through (honeycomb) or one that sits upon (solid) in order to maintain registration. My honeycomb bed is steel and accepts powerful magnets rather well. I have aligned a work piece by surrounding it on three sides with magnets with reasonable success. One would not get tenth of a millimeter precision, but I suspect you can get away without such limitations.

If you are able to cut through thinner material, bolt a piece larger than your tree piece and cut an L-shape or squared-off-U-shape to the size of your tree piece. Removing the cut section then allows you to place the tree in position consistently.

By using the laser to create the L-shape, you are ensuring that the sides are perpendicular to each other. This does require that your work piece be square on three sides, however. If it is not, a different approach is required.

For that aspect, place your work piece and cut/mark/drill four holes placed in a square around the main piece. Replace it with the bracket/jig piece, locked securely to the bed and use the same cut-file to cut/mark/drill four more holes.

You can then pin the work piece to the jig piece with dowels, bolts, pins, etc., to ensure registration. This method requires a bit more work, but will provide greater precision.

Your Answer

By clicking “Post Your Answer”, you agree to our terms of service and acknowledge you have read our privacy policy.

Not the answer you're looking for? Browse other questions tagged or ask your own question.