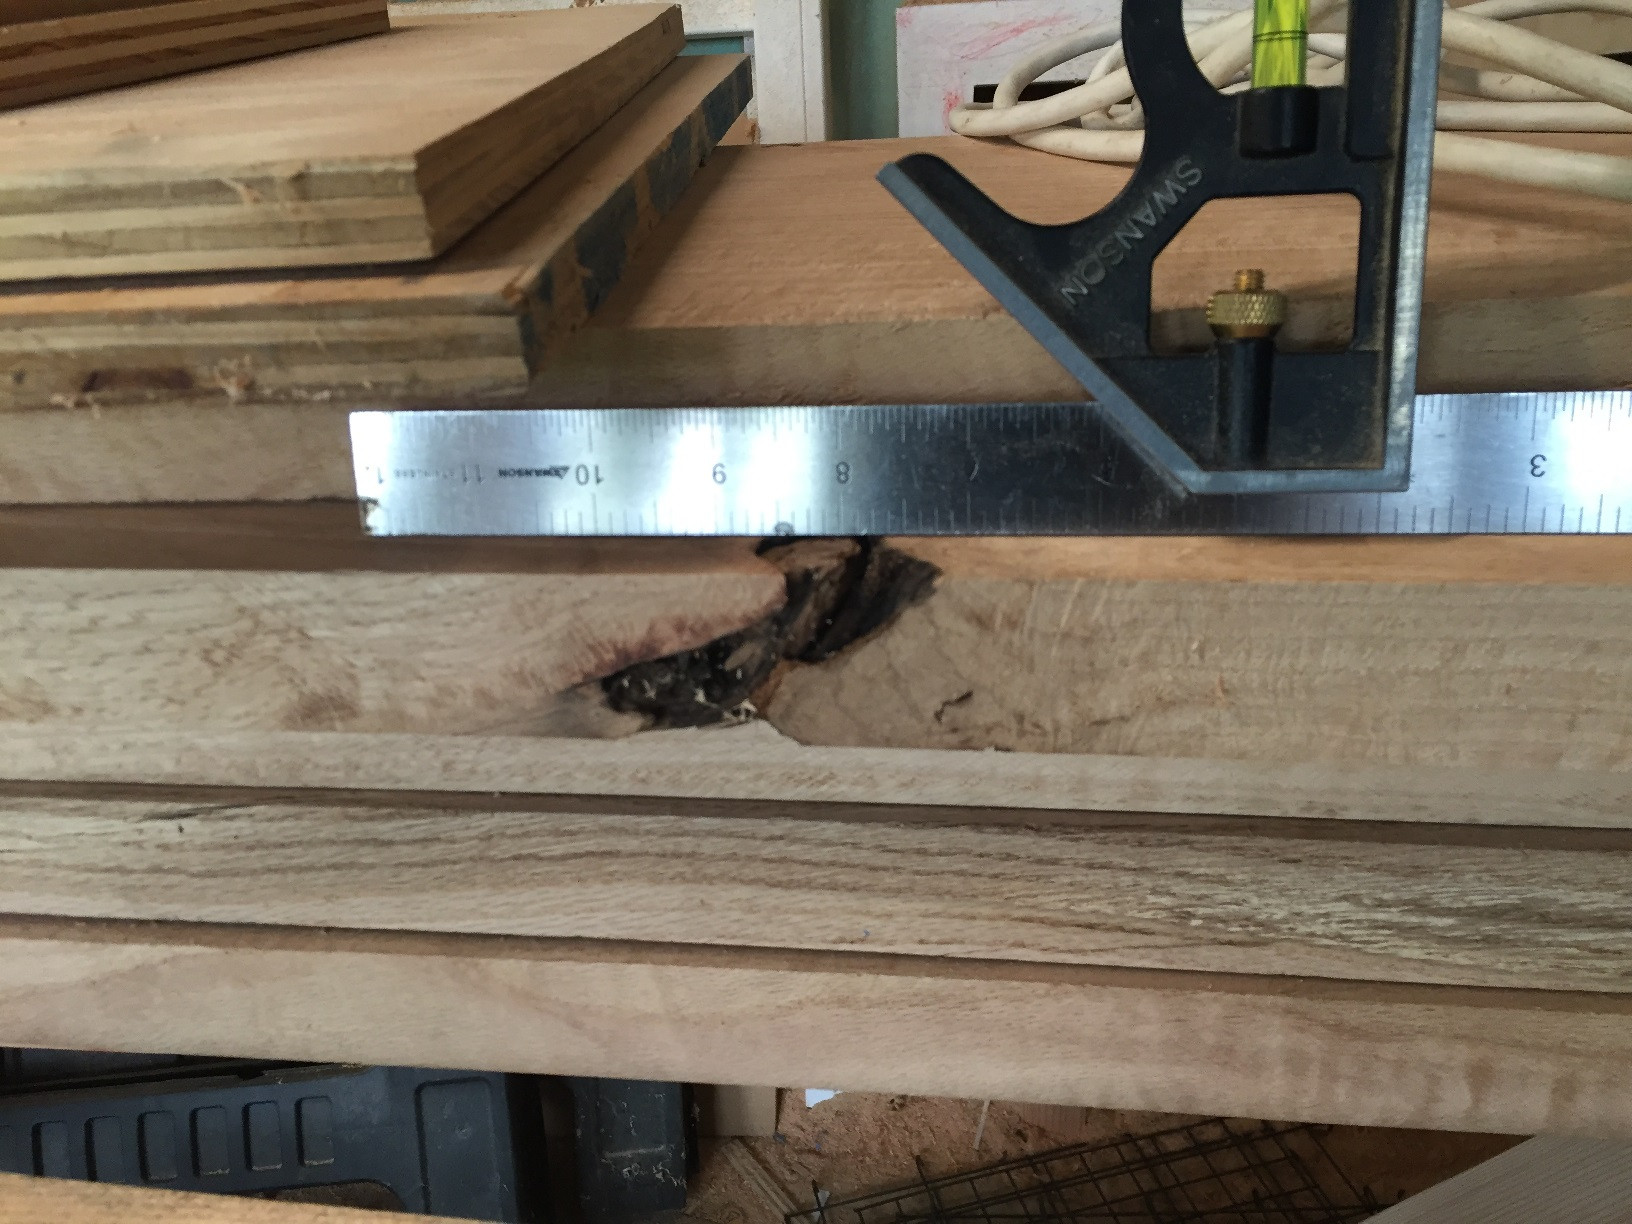
Should I look for another way to fill the void?
This is a matter of opinion but I don't think so. Epoxy is one of the best, if not the best, materials to fill voids and fallen knots. It has become virtually the default choice for this purpose for this reason.
It should be mentioned that a void at the edge of a board does represent a significant weak spot, and if structural strength were important one should be removed, patched or the piece of wood replaced with another more suitable. But for a table you don't really have those concerns and I'd have no hesitation in using this board at the edge of a tabletop.
Should I remove the knot and patch the wood? It's a very irregular shape (duh), not too sure how that would work.
Although the epoxy can stabilise anything loose that's there (it essentially glues it in place) it's probably best practice to remove everything loose before applying the filler. I carefully scrape and then scrupulously dust off a large knot hole with stiff brushes before dribbling in epoxy.
If you did want to patch with wood the patch doesn't have to match the natural void shape. In fact it's been common practice for many centuries to ignore the original shape of a defect and patch in a simple-to-cut replacement piece, as in the classic "Dutchman" patch1.
How else can I stabilize this section? It's fine if I still see the knot after it's done, but I don't want a piece that's going to crumble or otherwise disintegrate over time.
Taste on this may change in the future but currently the most common way this would be dealt with is with a fill (usually epoxy) and I think this is the best approach myself if you aren't letting in a patch.
More on what you can fill and/or tint epoxy with in a previous Answer, Large hole filler products, what is available.
TL;DR: How do I fix this, and have it match the final color?
If you did want it to match the final colour then patching with wood is the only sure-fire way. A fill that very closely matches the final colour of the wood (note that this would have to be done after staining) will still stand out plainly from various viewing angles because wood's cellular structure catches light in a way that filler materials don't. This is why fills look 'dead' and can usually be spotted without difficulty from a distance, hence the long-standing advice to use filler as little as possible.
But I don't think you should aim for it to match. Dark fills (e.g. tinted black or filled with used coffee grounds) have become the norm and can give a very pleasing result2. We're now comfortable with highlighting irregularities and even outright defects in wood, embracing that it's a natural material, which is great as it allows us to use wood for show surfaces in furniture that might previously have been put aside for use in rough carpentry at best, but often consigned to the firewood pile!
1It's hard these days to separate butterfly keys from Dutchmen but they are two very different things. They just happen to be the same shape (sometimes). The classic Dutchman is a cosmetic patch, a butterfly key (as with all keys) is a stabiliser or locking device, used across a joint or a natural crack to prevent movement.
2The fill doesn't have to be dark if your taste doesn't run to that. You could colour it bright red or blue if you preferred. And metal powders make excellent filler material for resins so a bright copper, brass or pewter fill is easily achievable.
